Directions:
1. Watch this Youtube video on how to make seed pots. Helpful hint: make sure your paper is twice as long as it is wide before you start folding.
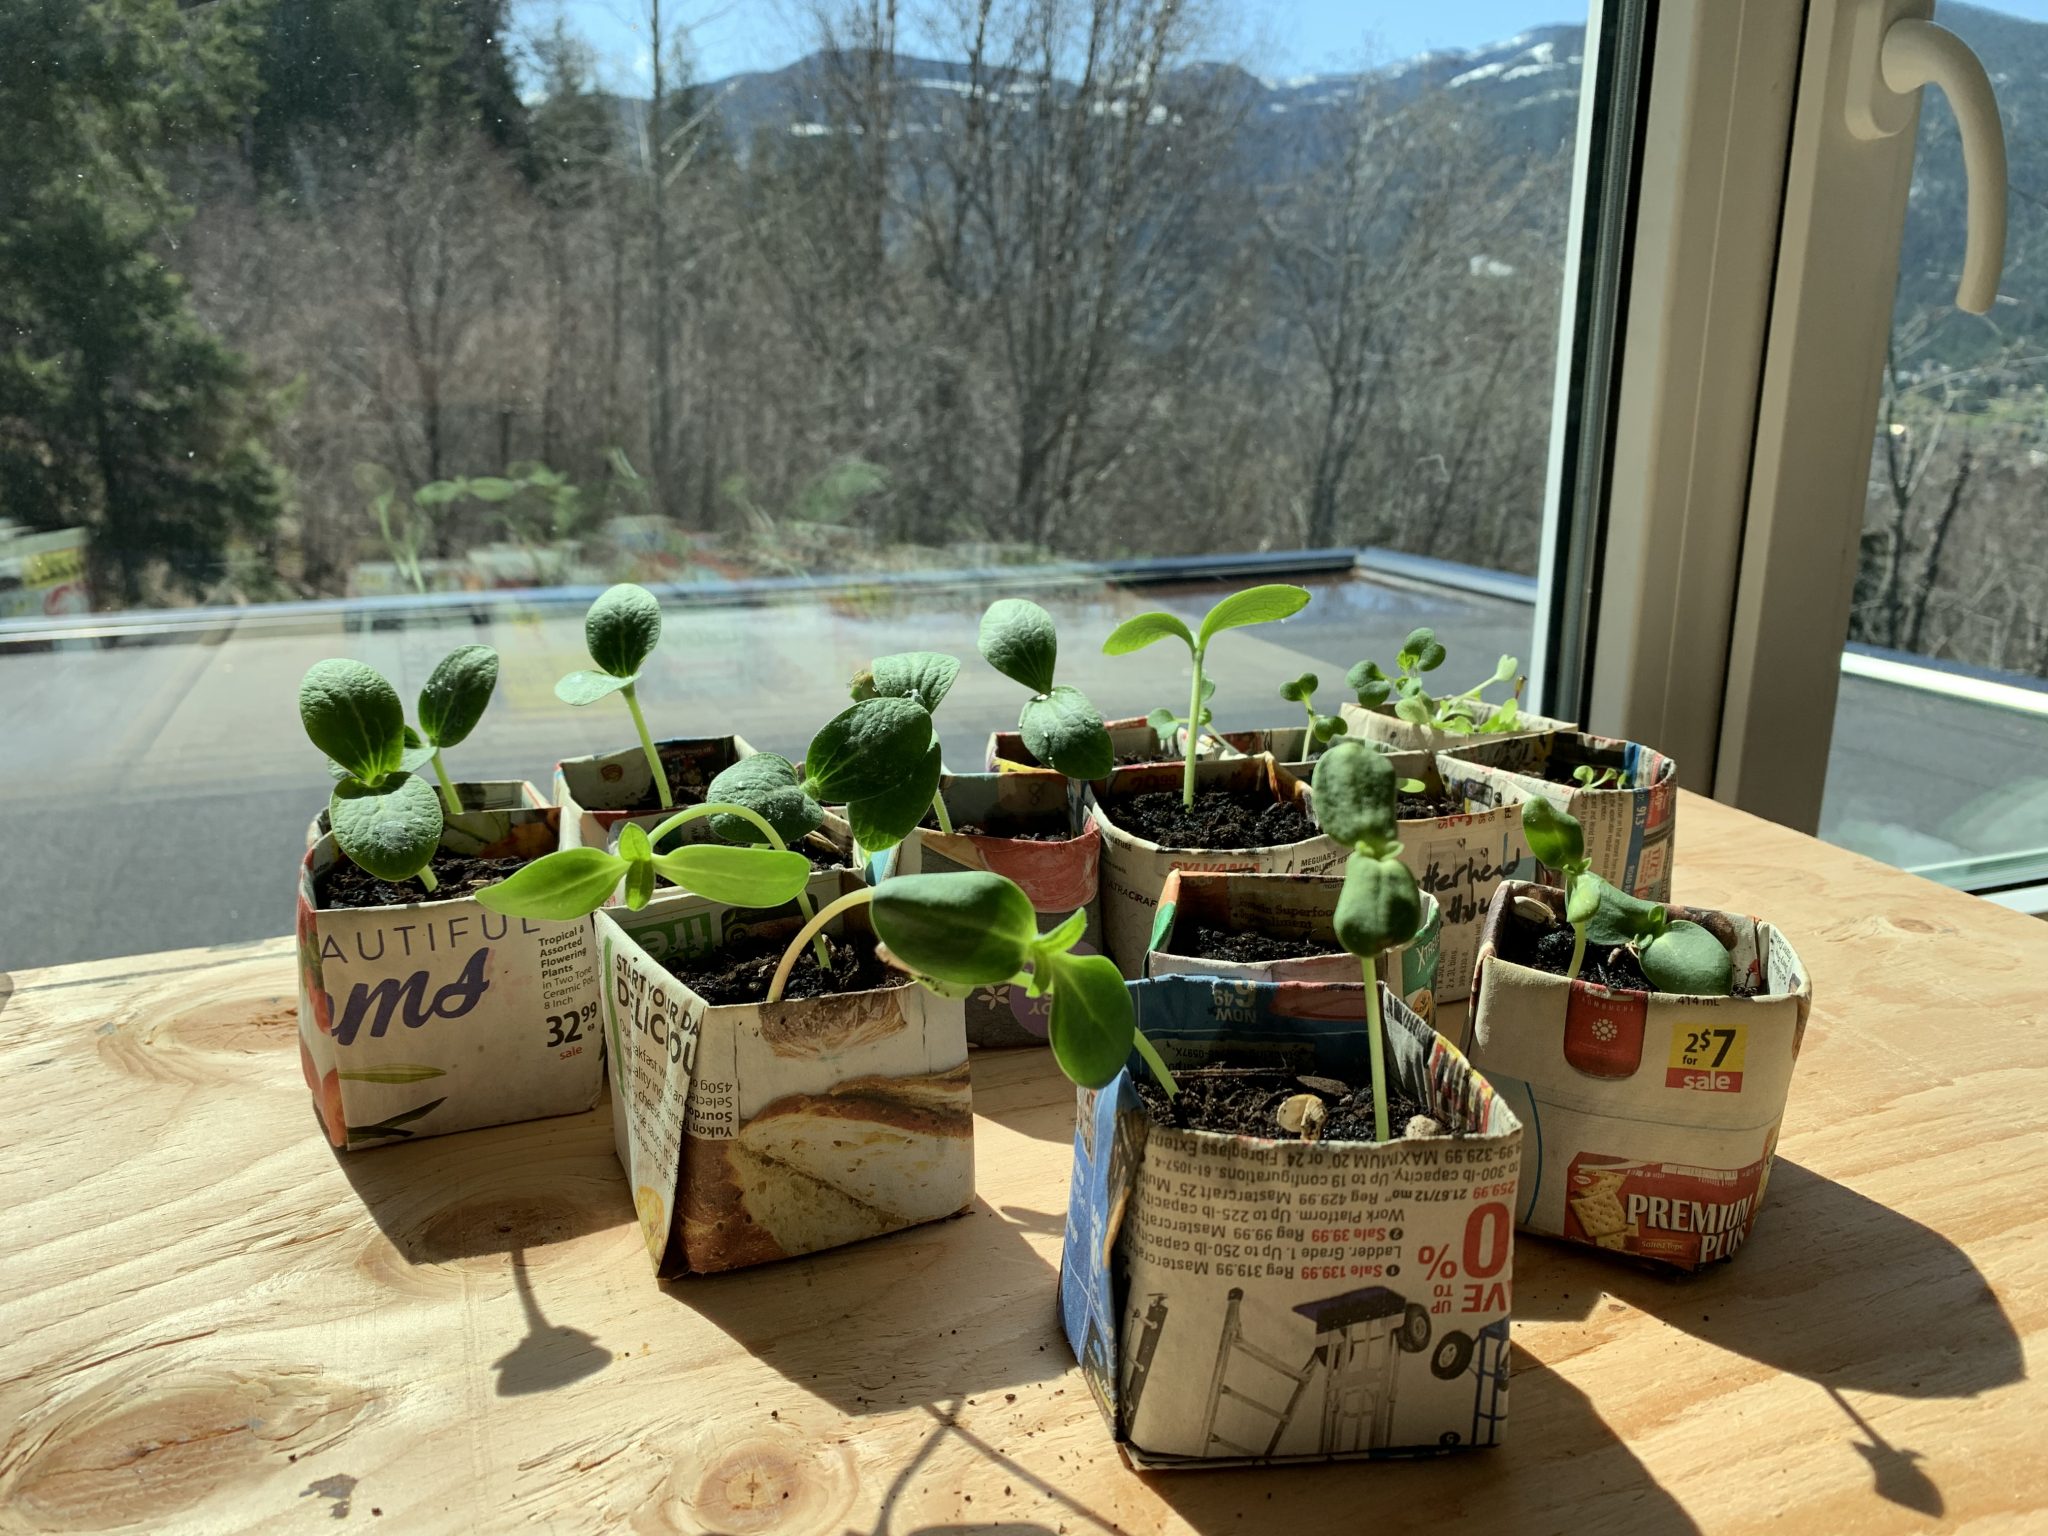
2. Fill each pot with soil, and plant seeds according to the packages’ instructions.
3. Label the pots, and gently water.
4. Leave the pots in a warm and bright location; make sure to water frequently.

Reflections:
Wonder along with your student:
• How long will it take to see the seedlings?
• What do you think will be the first thing we’ll see of the seedling?
• Do you think they’ll all germinate and emerge as seedlings?
If you’ve planted more than one type of seed:
• Will all the seeds develop in a similar manner?
• Will some seeds germinate faster? Will some have a better success with germination?
Draw one seedling, maybe over numerous days.
Compare seedlings:
• Why do you think they all don’t look the same, aren’t the same size?
• You could turn some seedlings toward the sun each day, and leave some in the same spot, and compare what happens.

Extension Activity:
• You could draw a seedling ‘flip book’, draw the the seedling over time and add a simple bind (i.e. stapling) so you can flip through the development of the seedling.
• If you have the space, the seedling can be transplanted into a container or the earth once the temperatures are appropriate (see the back of the seed’s package). Remember to harden your seedlings for 7-10 days before planting them outside.

